Ex Libris (aka bookplate)

I think that books are fascinating, and even more so old books. Just imagine a nice book, maybe a hundred years old, sitting in front of you. Now open it an take a deep breath. There is something about the smell of old paper that creates the perfect reading mood.
Of course, if that book in front of you is old, it was previously owned by someone else. Sometimes, you'll find some notes or other marks on the margins. Most likely, the name of the owner will be somewhere in the book too. It almost has a secret life of its own with all the artifacts that have been added to it over the years.
Another thing that you will commonly find in an old book is a bookplate. It is usually a label or a stamp that indicates the owner of the book, and may include the family crest, coat-of-arms, or other similar symbol.
These days, especially with the rise of the digital media, bookplates are not that common. People also tend to value their libraries less, which is not surprising, since most books are really cheap. In fact, I only own 6 or 7 books that cost over $100, and a couple of those are textbooks that I kept after college.
However, I do think that bookplates are really cool, which is why I decided to make one for the library that my husband and I share.
I knew that I wanted to make a stamp, and since I do not have a laser cutter, it would have to be simple enough to be carved by hand. I did some sketches exploring different ideas, which you can see below.
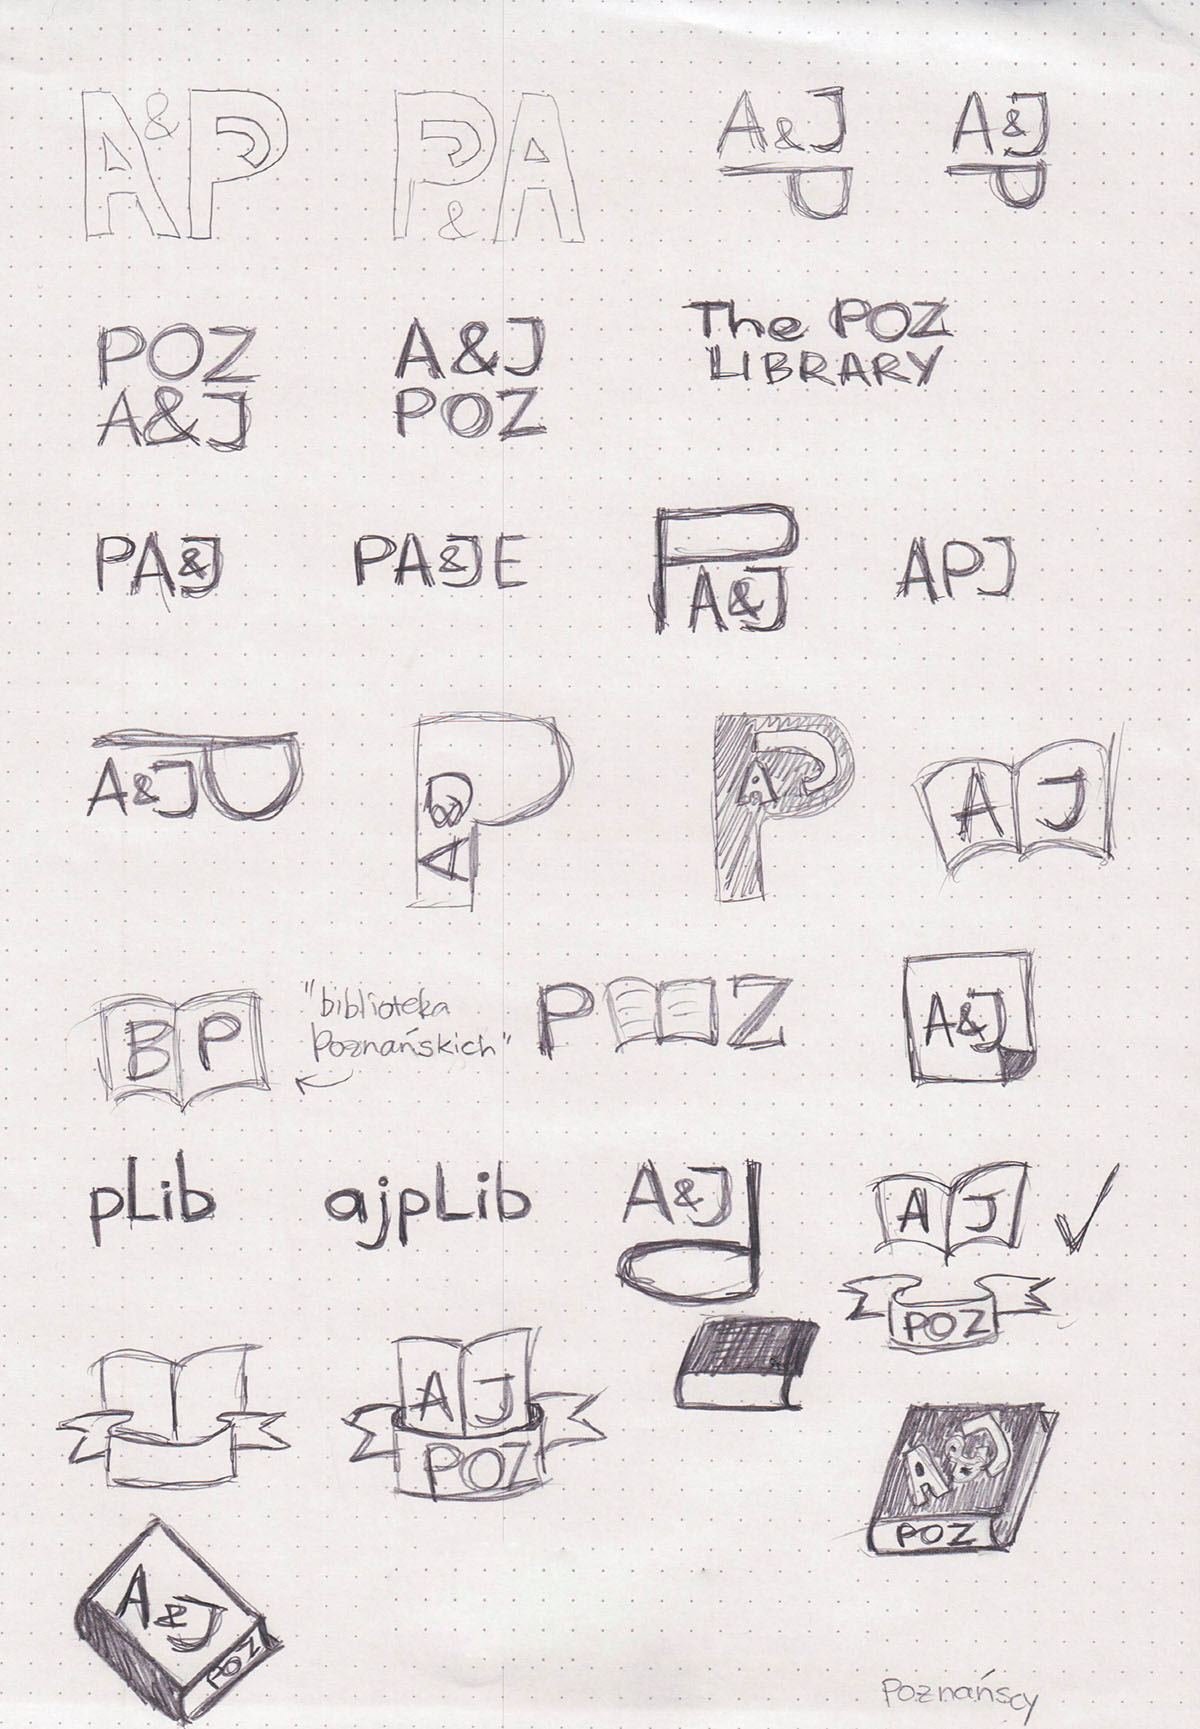
Some of these are obviously silly. I decided to take a closer look at the book + ribbon idea.
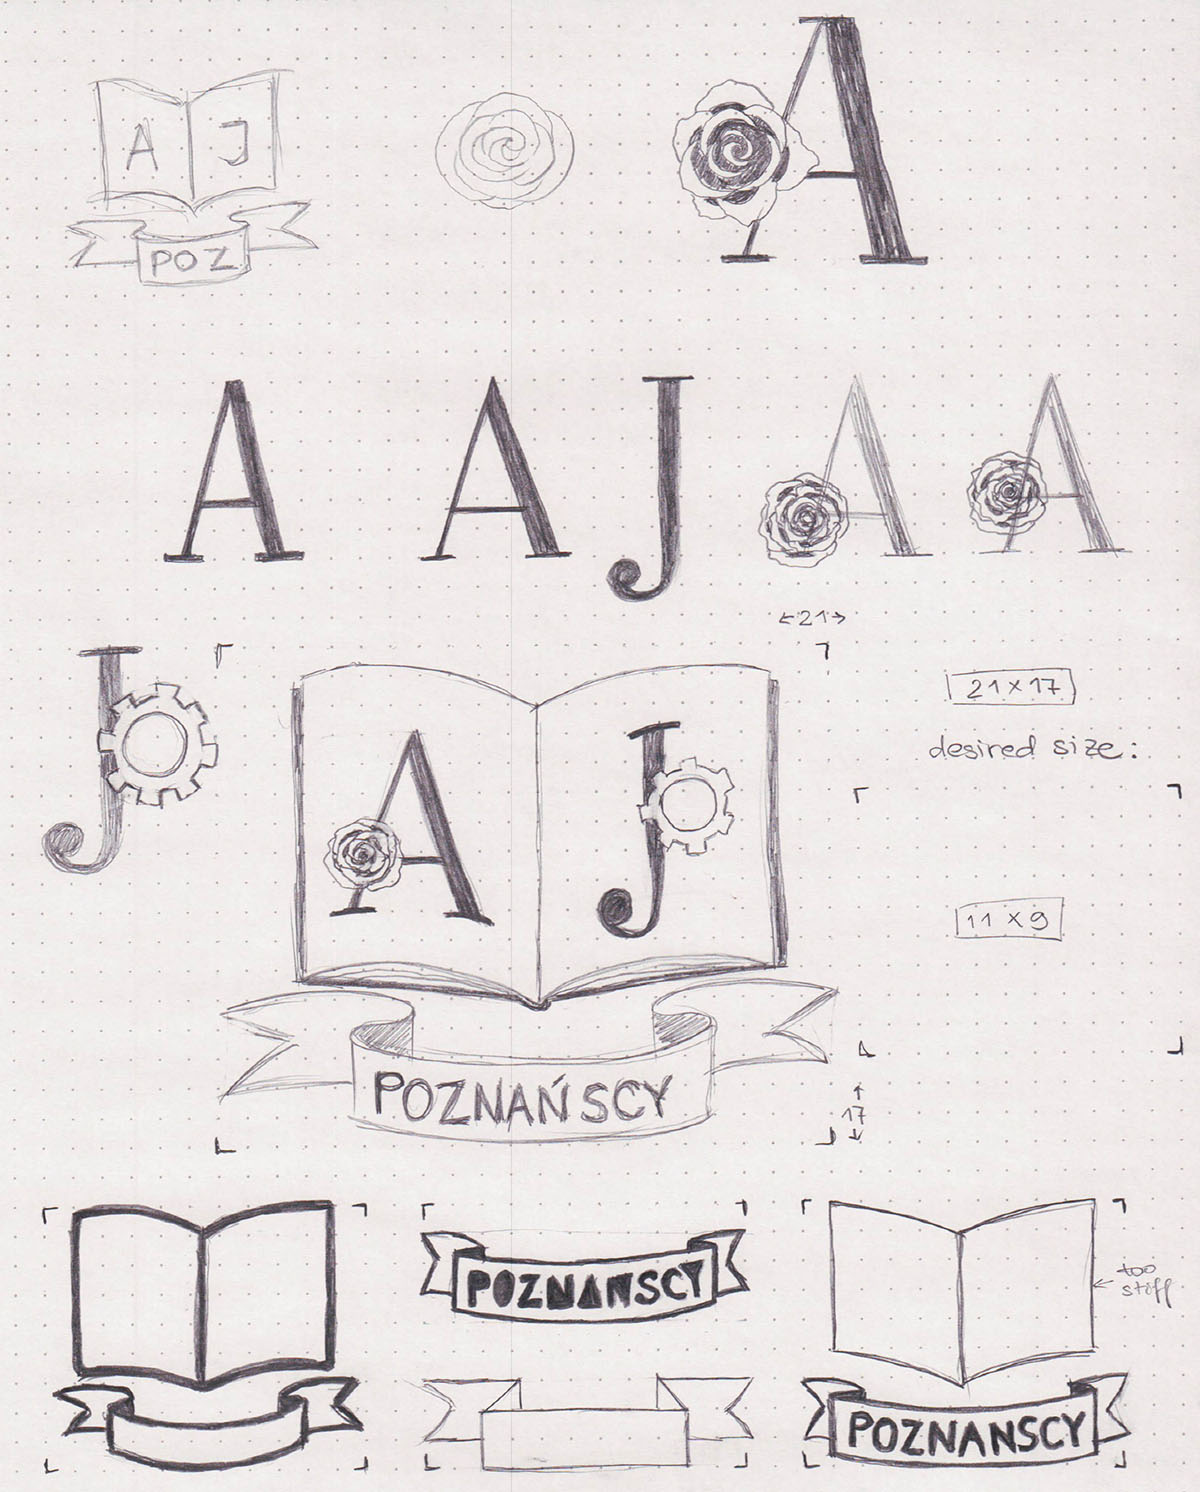
I wanted to add some simple symbols to represent something about each of us. My husband gave me a beautiful rose bouquet the day before, so I took some inspiration from that and picked the rose to represent myself. For him, I chose the gear, since he is always tinkering with things and making cool stuff.
The sketch in the center is too large, and has too much detail for a stamp, so I shrunk it down to a more reasonable size.
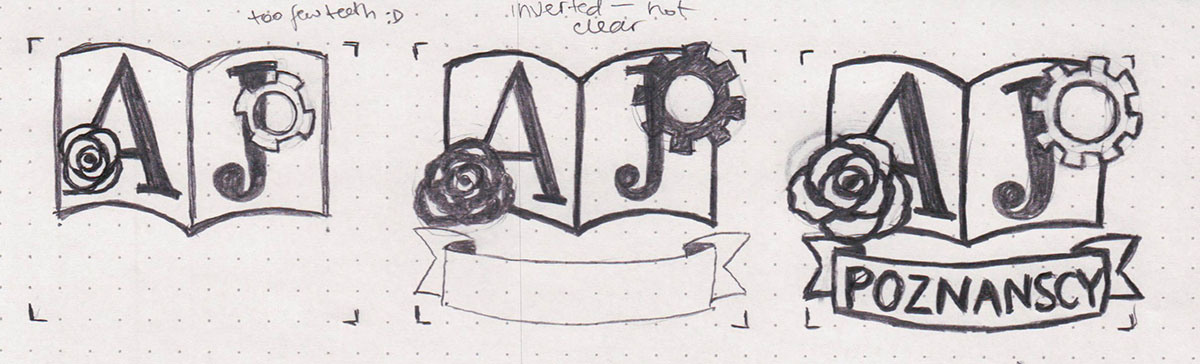
It took a couple attempts to fit the things nicely. I tried inverting the colors in some places (mostly to make carving simpler), but that didn't really work out.
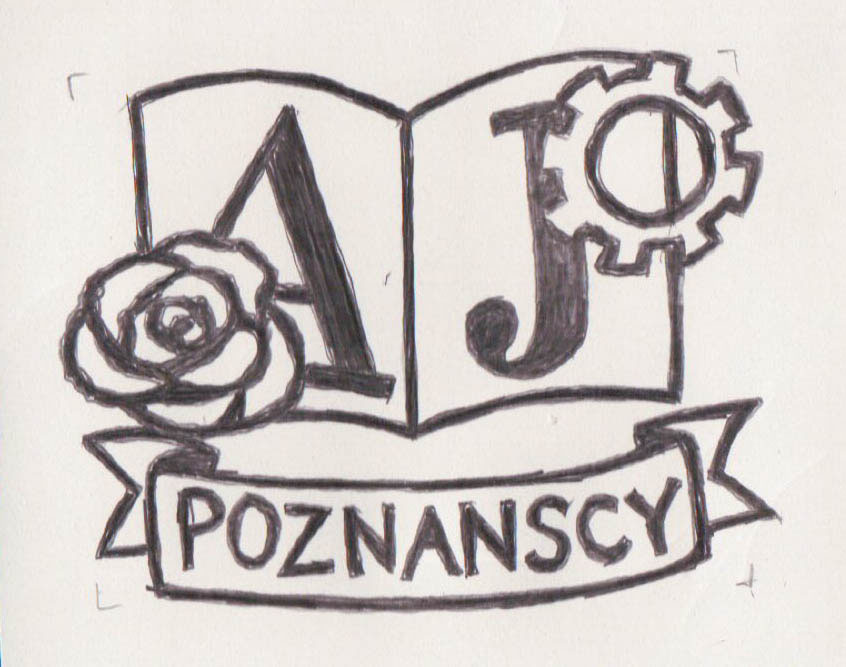
After I was happy with the general idea, I copied the design with a really soft pencil onto a separate piece of paper. That way, I could easily transfer it to a piece of rubber that I would use for carving the stamp.
As you can see, this drawing doesn't have to be too precise, since not all of the pencil lead transfers to the stamp anyway. Another important part is that the stamp has to be cut with the mirror reflection of the desired stamp.
I marked some of the outlines with a soft pencil on the stamp itself, since not everything got transferred nicely, and set to carving using a linoleum cutter.
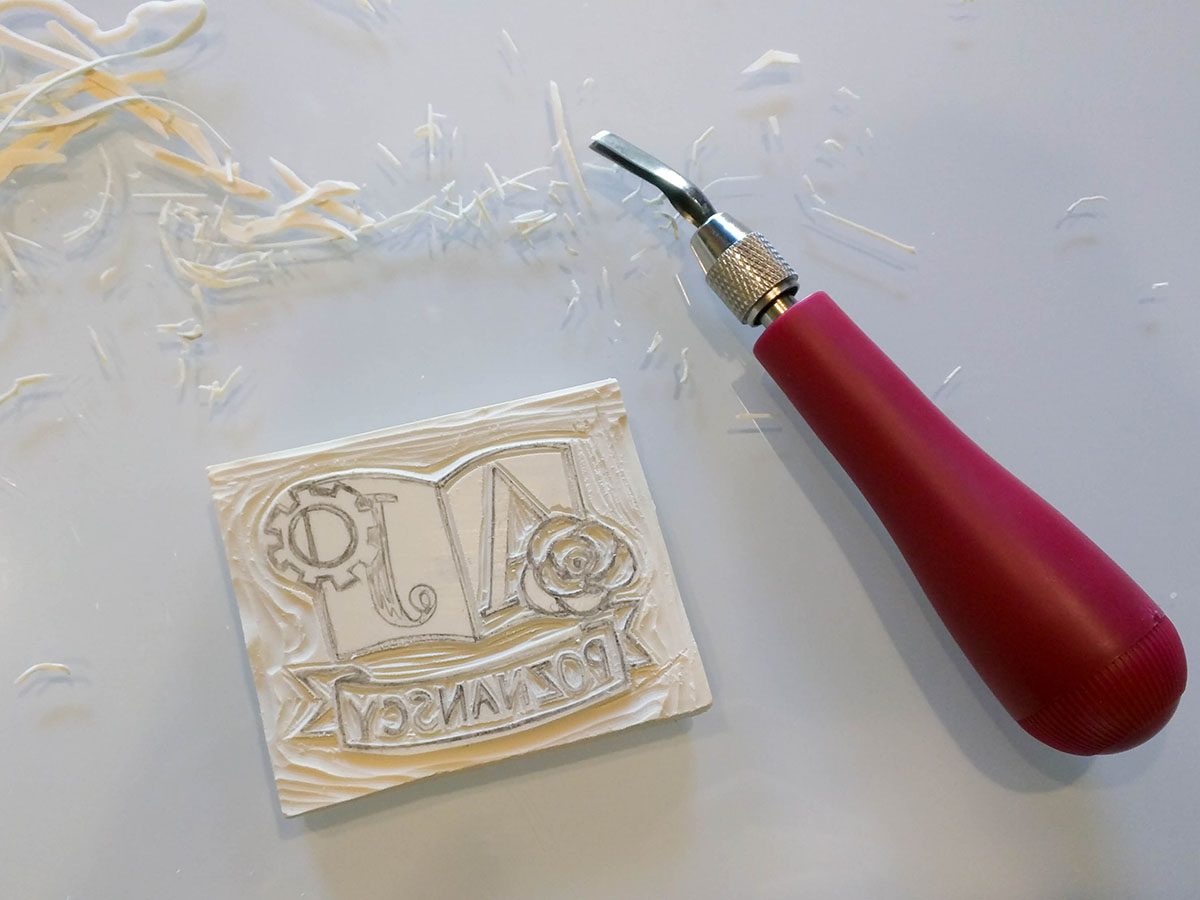
For the first round, I used a larger gouge. It is important to not cut off anything extra, but leaving some of the stuff in is fine.
After that, I inked the stamp and used it on a piece of paper.
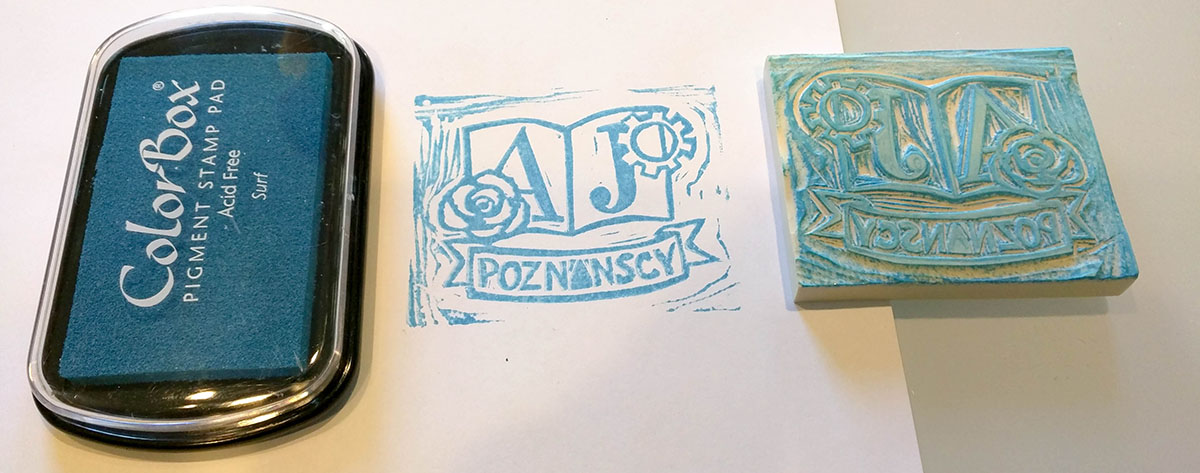
As you can see, the overall shape is there, but some of the details aren't clear, and there are a lot of marks around the book.
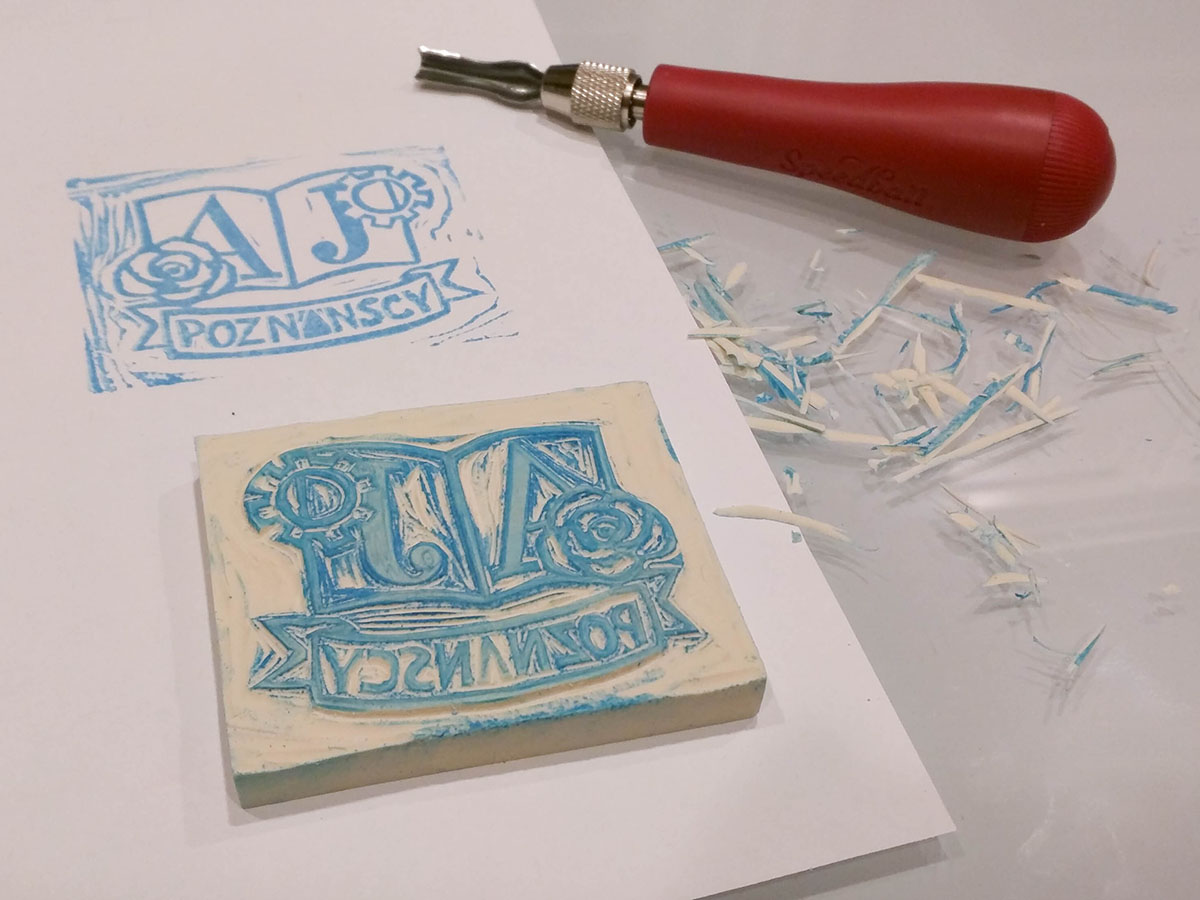
Based on the stamped version, I cut away some more, then tried again, then cut some more... After several repetitions, I was satisfied with the result.
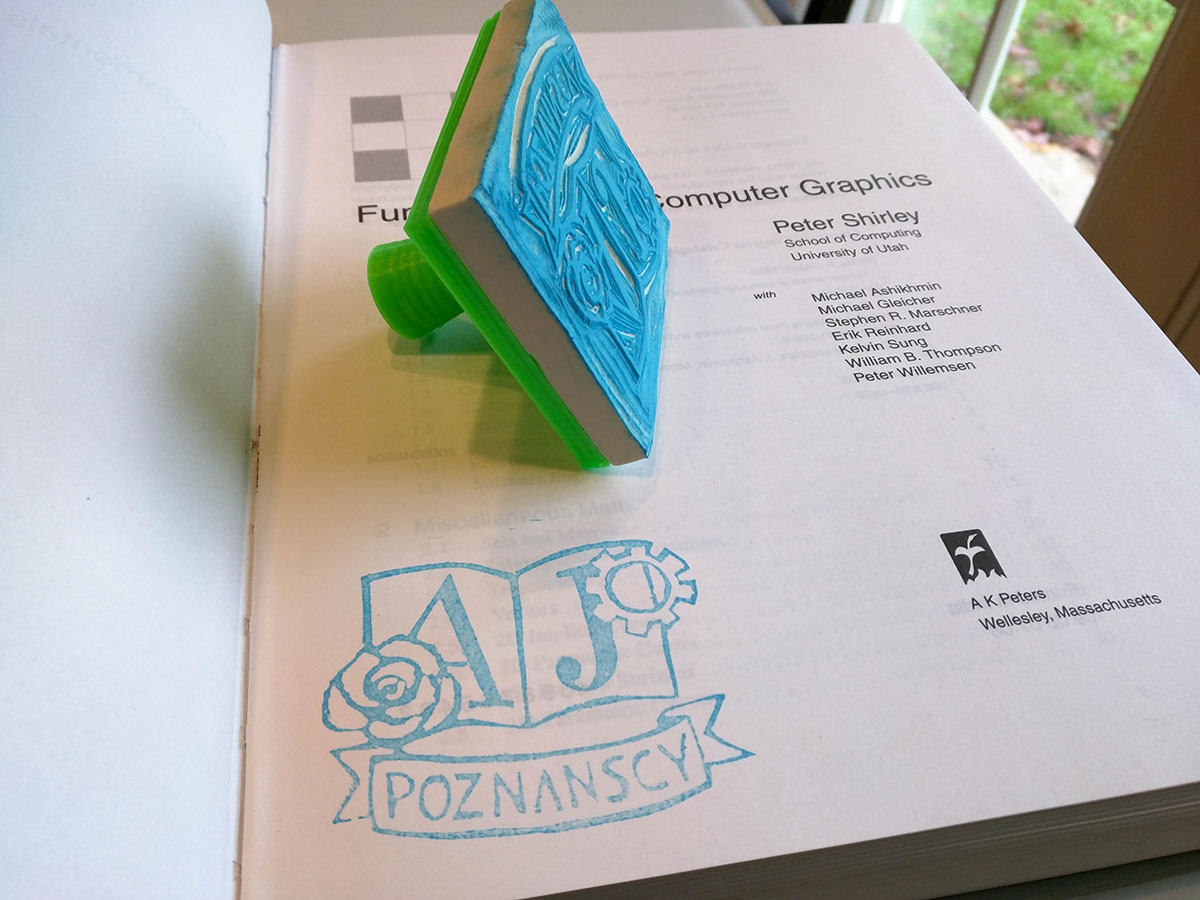
My husband 3D printed a nice handle for the stamp (you can find his design at http://www.thingiverse.com/thing:54019), glued the stamp to it, and voilà — we are ready to stamp our entire library. Future owners of Fundamentals of Computer Graphics, beware! ;)
The whole project took several hours from start to finish, including the printing time.
Comments